A cargo bike may seem perfect on a spec sheet but much less suitable once loaded with two children, their school bags, and groceries.
That's why a cargo bike test ride before purchase is particularly important. But you also need to test the right things.
A few minutes in a flat car park can help you discover the bike, but not whether it will truly suit your daily life. You need to test starting, turning, stability when stationary, braking, uphill climbing, child installation, and even parking.
To get a useful answer, allow about 30 minutes and simulate your real life as much as possible. Come with the children, their equipment, and a load similar to what you will carry each week.
Why test ride a cargo bike before buying it?
An electric cargo bike is very different from a conventional bicycle.
Depending on the chosen format, it can be:
- longer;
- wider;
- heavier;
- harder to maneuver on foot;
- more sensitive to load distribution;
- more demanding in low-speed turns.
A test ride therefore allows you to check elements that are impossible to properly evaluate from a product sheet:
- your riding position;
- your confidence when starting;
- stability with children;
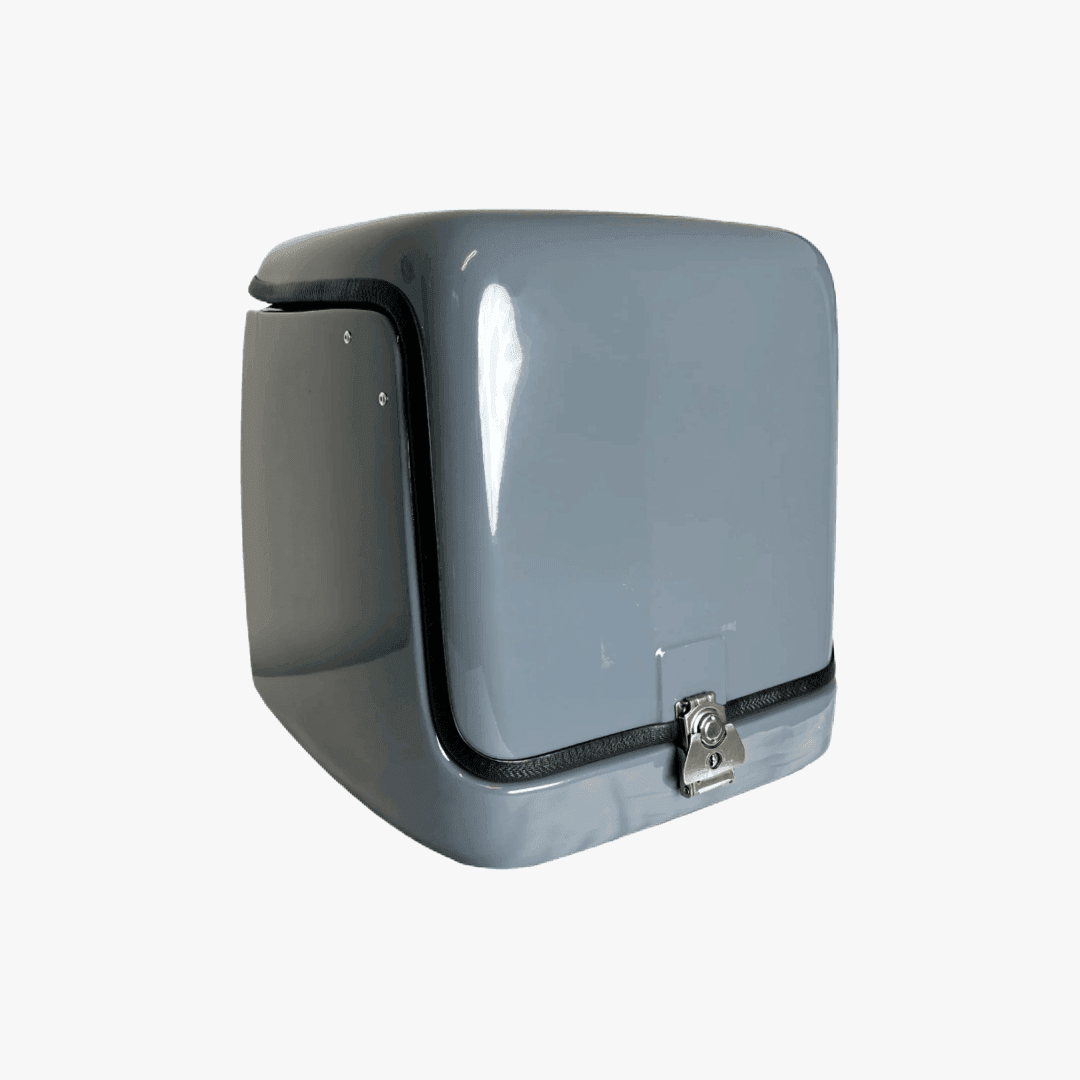
- available space in the cargo box;
- ease of climbing a hill;
- braking power and progression;
- maneuverability in a confined space;
- ease of parking.
Two bikes with similar technical characteristics can offer very different sensations once loaded.
Should you bring the children to the test ride?
Yes, when possible and when the test conditions allow it.
If the bike is primarily for school, daycare, or activity trips, the children are part of the configuration you are buying.
An empty test ride does not allow you to check:
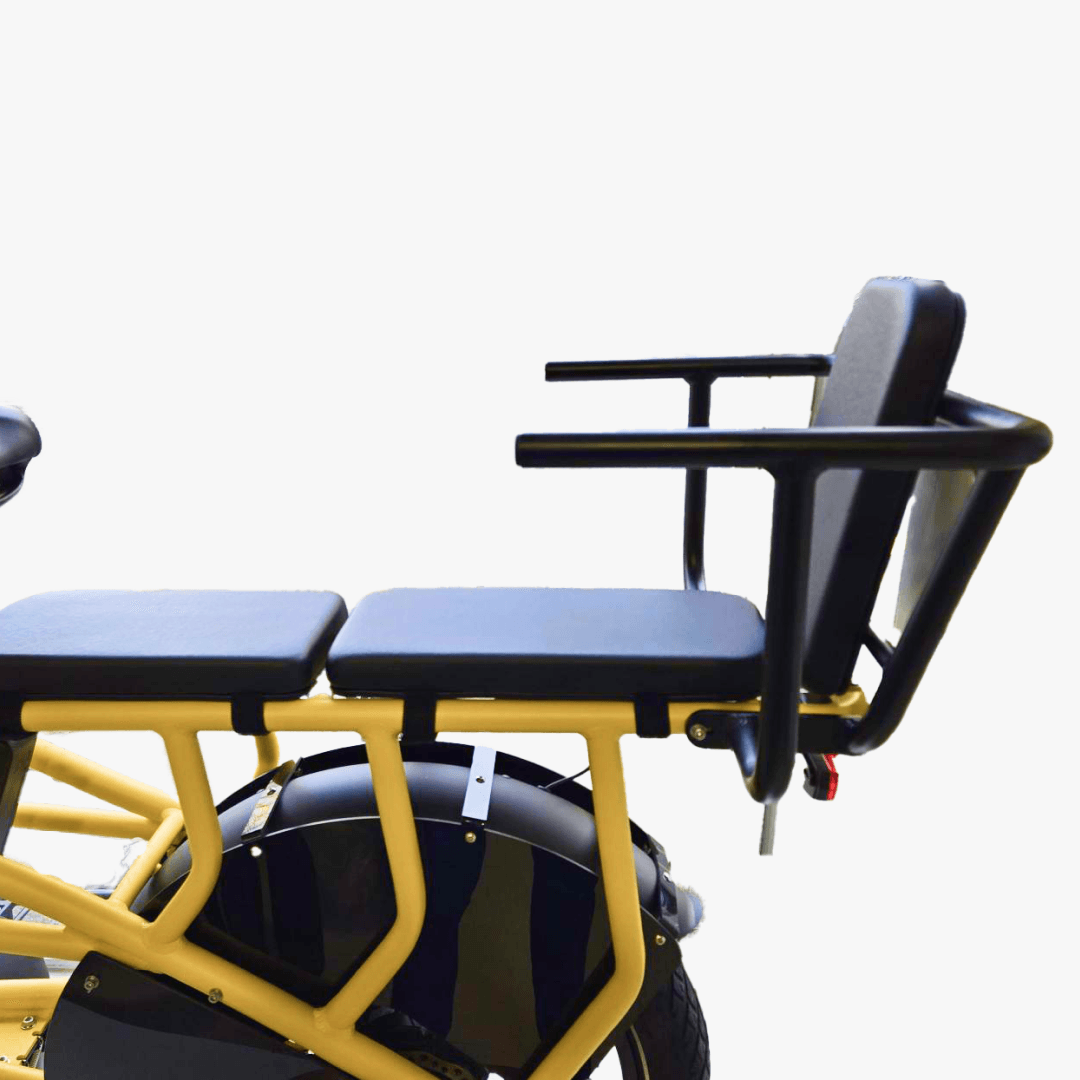
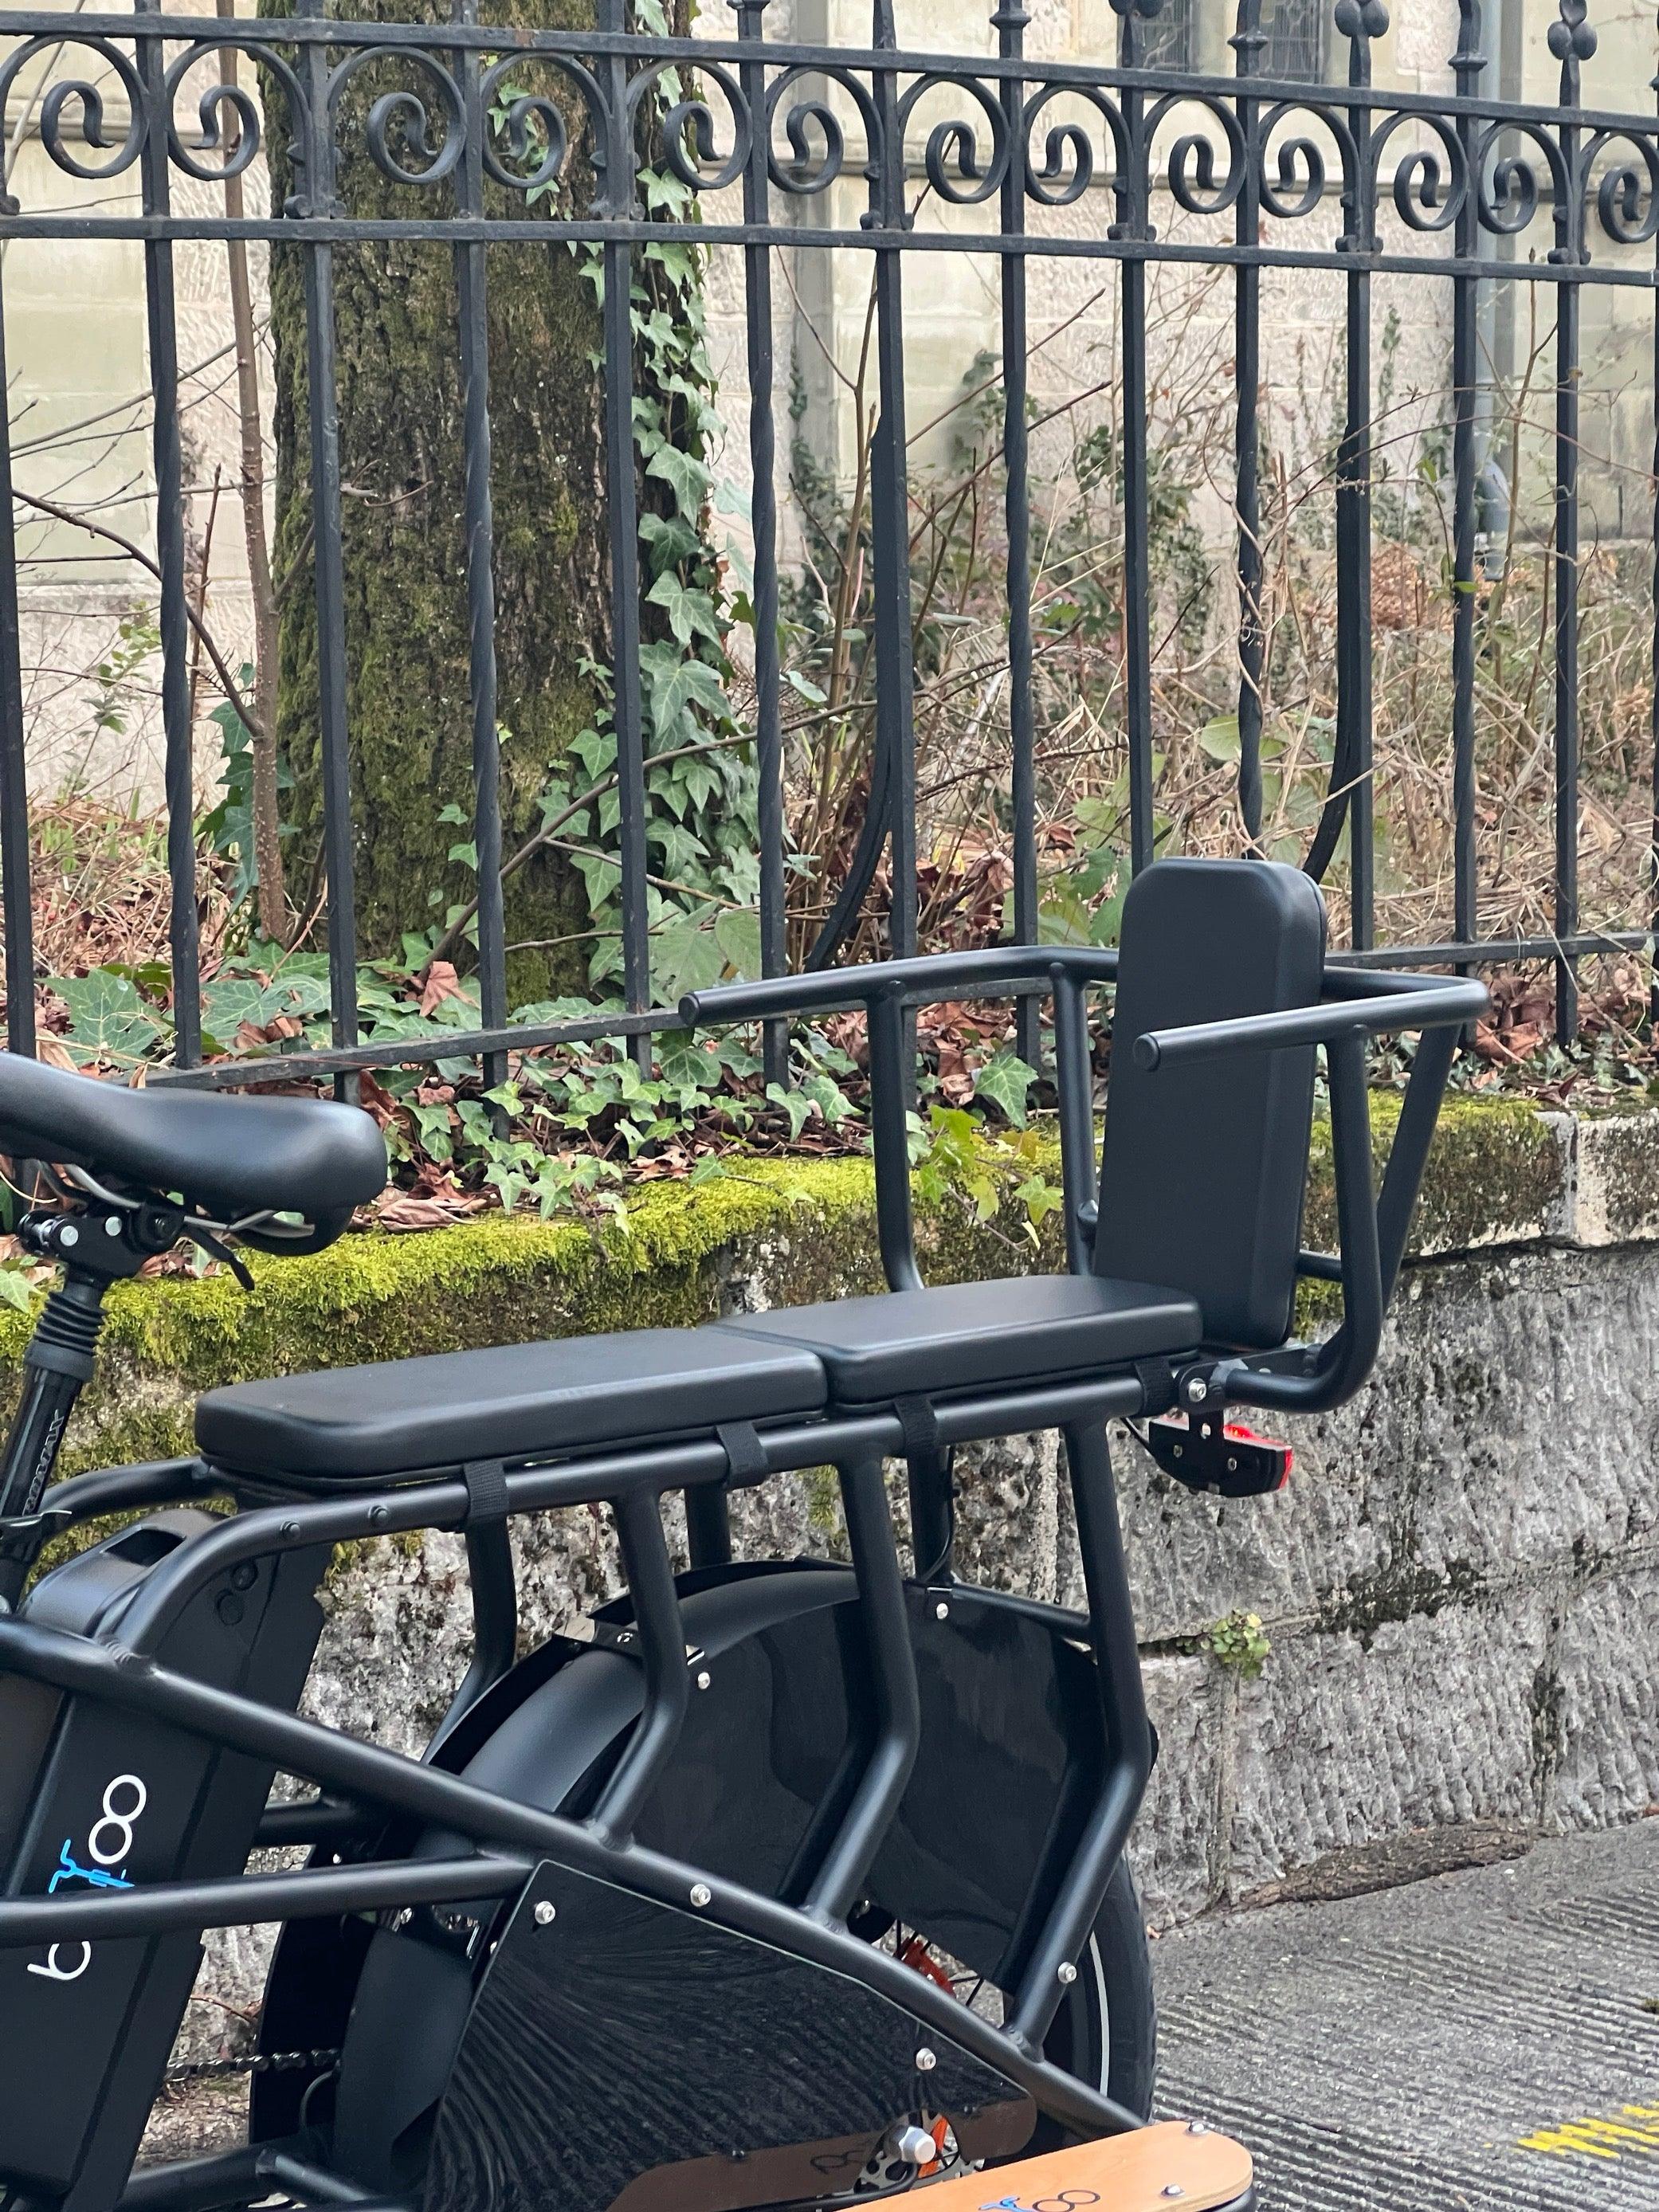
- the space available for their shoulders;
- the space for their legs;
- ease of access to the cargo box;
- harness adjustment;
- their comfort over bumps;
- the remaining space for school bags;
- the bike's behavior with their weight.
If the children cannot participate in the first test, ask the salesperson if it's possible to then perform a test with a representative load or to arrange a second family test.
What should you bring on the day of the test ride?
To make the test truly useful, prepare a few items before your appointment.
For family use
- the children who will regularly use the bike;
- their helmets;
- their usual school bags or backpacks;
- the planned child seat if you already have one;
- an estimate of your daily load;
- the dimensions of your bike storage area or garage.
For your commutes
Also prepare on your phone:
- the distance of the home-school commute;
- the distance to work;
- a representative uphill climb;
- the total distance of a typical day;
- a photo of your bike storage if access is complicated.
The more the test resembles your daily life, the easier the decision will be.
The 30-minute cargo bike test ride checklist
| Time | Test | What to observe |
|---|---|---|
| 0 to 5 min | Adjustments and setup | Position, frame, saddle, handlebars, kickstand, harnesses |
| 5 to 10 min | Riding empty | Starting, balance, turns, U-turn |
| 10 to 15 min | Child and load installation | Access, space, stability and storage |
| 15 to 20 min | Riding loaded | Starting, assist, turns and low speed |
| 20 to 25 min | Uphill, downhill and braking | Torque, transmission, control and braking |
| 25 to 30 min | Parking and debriefing | Kickstand, maneuvers, dimensions and final questions |
Minutes 0 to 5: Adjust the bike correctly
Do not start the test with the saddle and handlebars in the position of the previous customer.
Ask the salesperson to adjust the bike to your body shape.
Specifically check:
- saddle height;
- handlebar position;
- access to brake levers;
- ease of mounting and dismounting;
- hand position;
- forward visibility.
A low frame can be particularly practical when you need to get on and off the bike frequently during school or daycare commutes.
Immediately test the kickstand
Place the bike on its kickstand and simulate installing a child.
Ask yourself:
- can I put the bike on the kickstand without excessive effort?
- does it remain stable?
- can I hold it with one hand while buckling in a child?
- does the kickstand fold up easily before departure?
This operation will sometimes be repeated several times a day. It must therefore be simple and reassuring.
Minutes 5 to 10: Start by riding empty
Before putting the children in, familiarize yourself with the bike without passengers.
Start in a quiet area closed to traffic if possible.
Test 1: Starting
Stop the bike completely, then start again several times.
Observe:
- if the bike starts smoothly;
- if the assistance is predictable;
- if you can easily control the steering;
- if you have to quickly put a foot on the ground.
Very powerful assistance is not necessarily better if it makes starting difficult to control.
Test 2: Riding very slowly
Then reduce your speed.
A cargo bike should be pleasant when ridden normally, but it must also remain controllable:
- in a queue;
- approaching a traffic light;
- in a car park;
- outside the school;
- in a shared zone.
Low-speed riding is often more revealing than maximum speed.
Test 3: Tight turns
Make several left and right turns at low speed.
See if:
- the handlebars feel natural;
- the cargo box easily follows the trajectory;
- you quickly anticipate the dimensions;
- you can correct the trajectory without stress.
Test 4: U-turn
Simulate a U-turn in a space whose width resembles that of a small street or courtyard.
A bike that is very pleasant in a straight line may require much more space than expected to change direction.
Minutes 10 to 15: Install the children and the real load
Once comfortable riding empty, move on to the family configuration.
The Bureau for the Prevention of Accidents recommends that children transported in a cargo bike have protected seats and be secured with an appropriate restraint system.
Before starting, check each seat.
Children's access
Observe how the children get into the bike.
Can they:
- get in without stepping on a harness?
- settle in without displacing accessories?
- keep their feet in the designated space?
- get out without unbalancing the bike?
Harnesses
Check that each restraint system:
- closes easily;
- can be adjusted to the child's size;
- remains accessible with a winter jacket;
- does not pass over the neck;
- cannot be easily removed by the child.
For a family cargo bike, the BPA recommends a five-point safety belt connected to the frame.
Space for children
Don't just look at whether the children "fit" in the bike.
Check:
- shoulder width;
- knee room;
- shoe space;
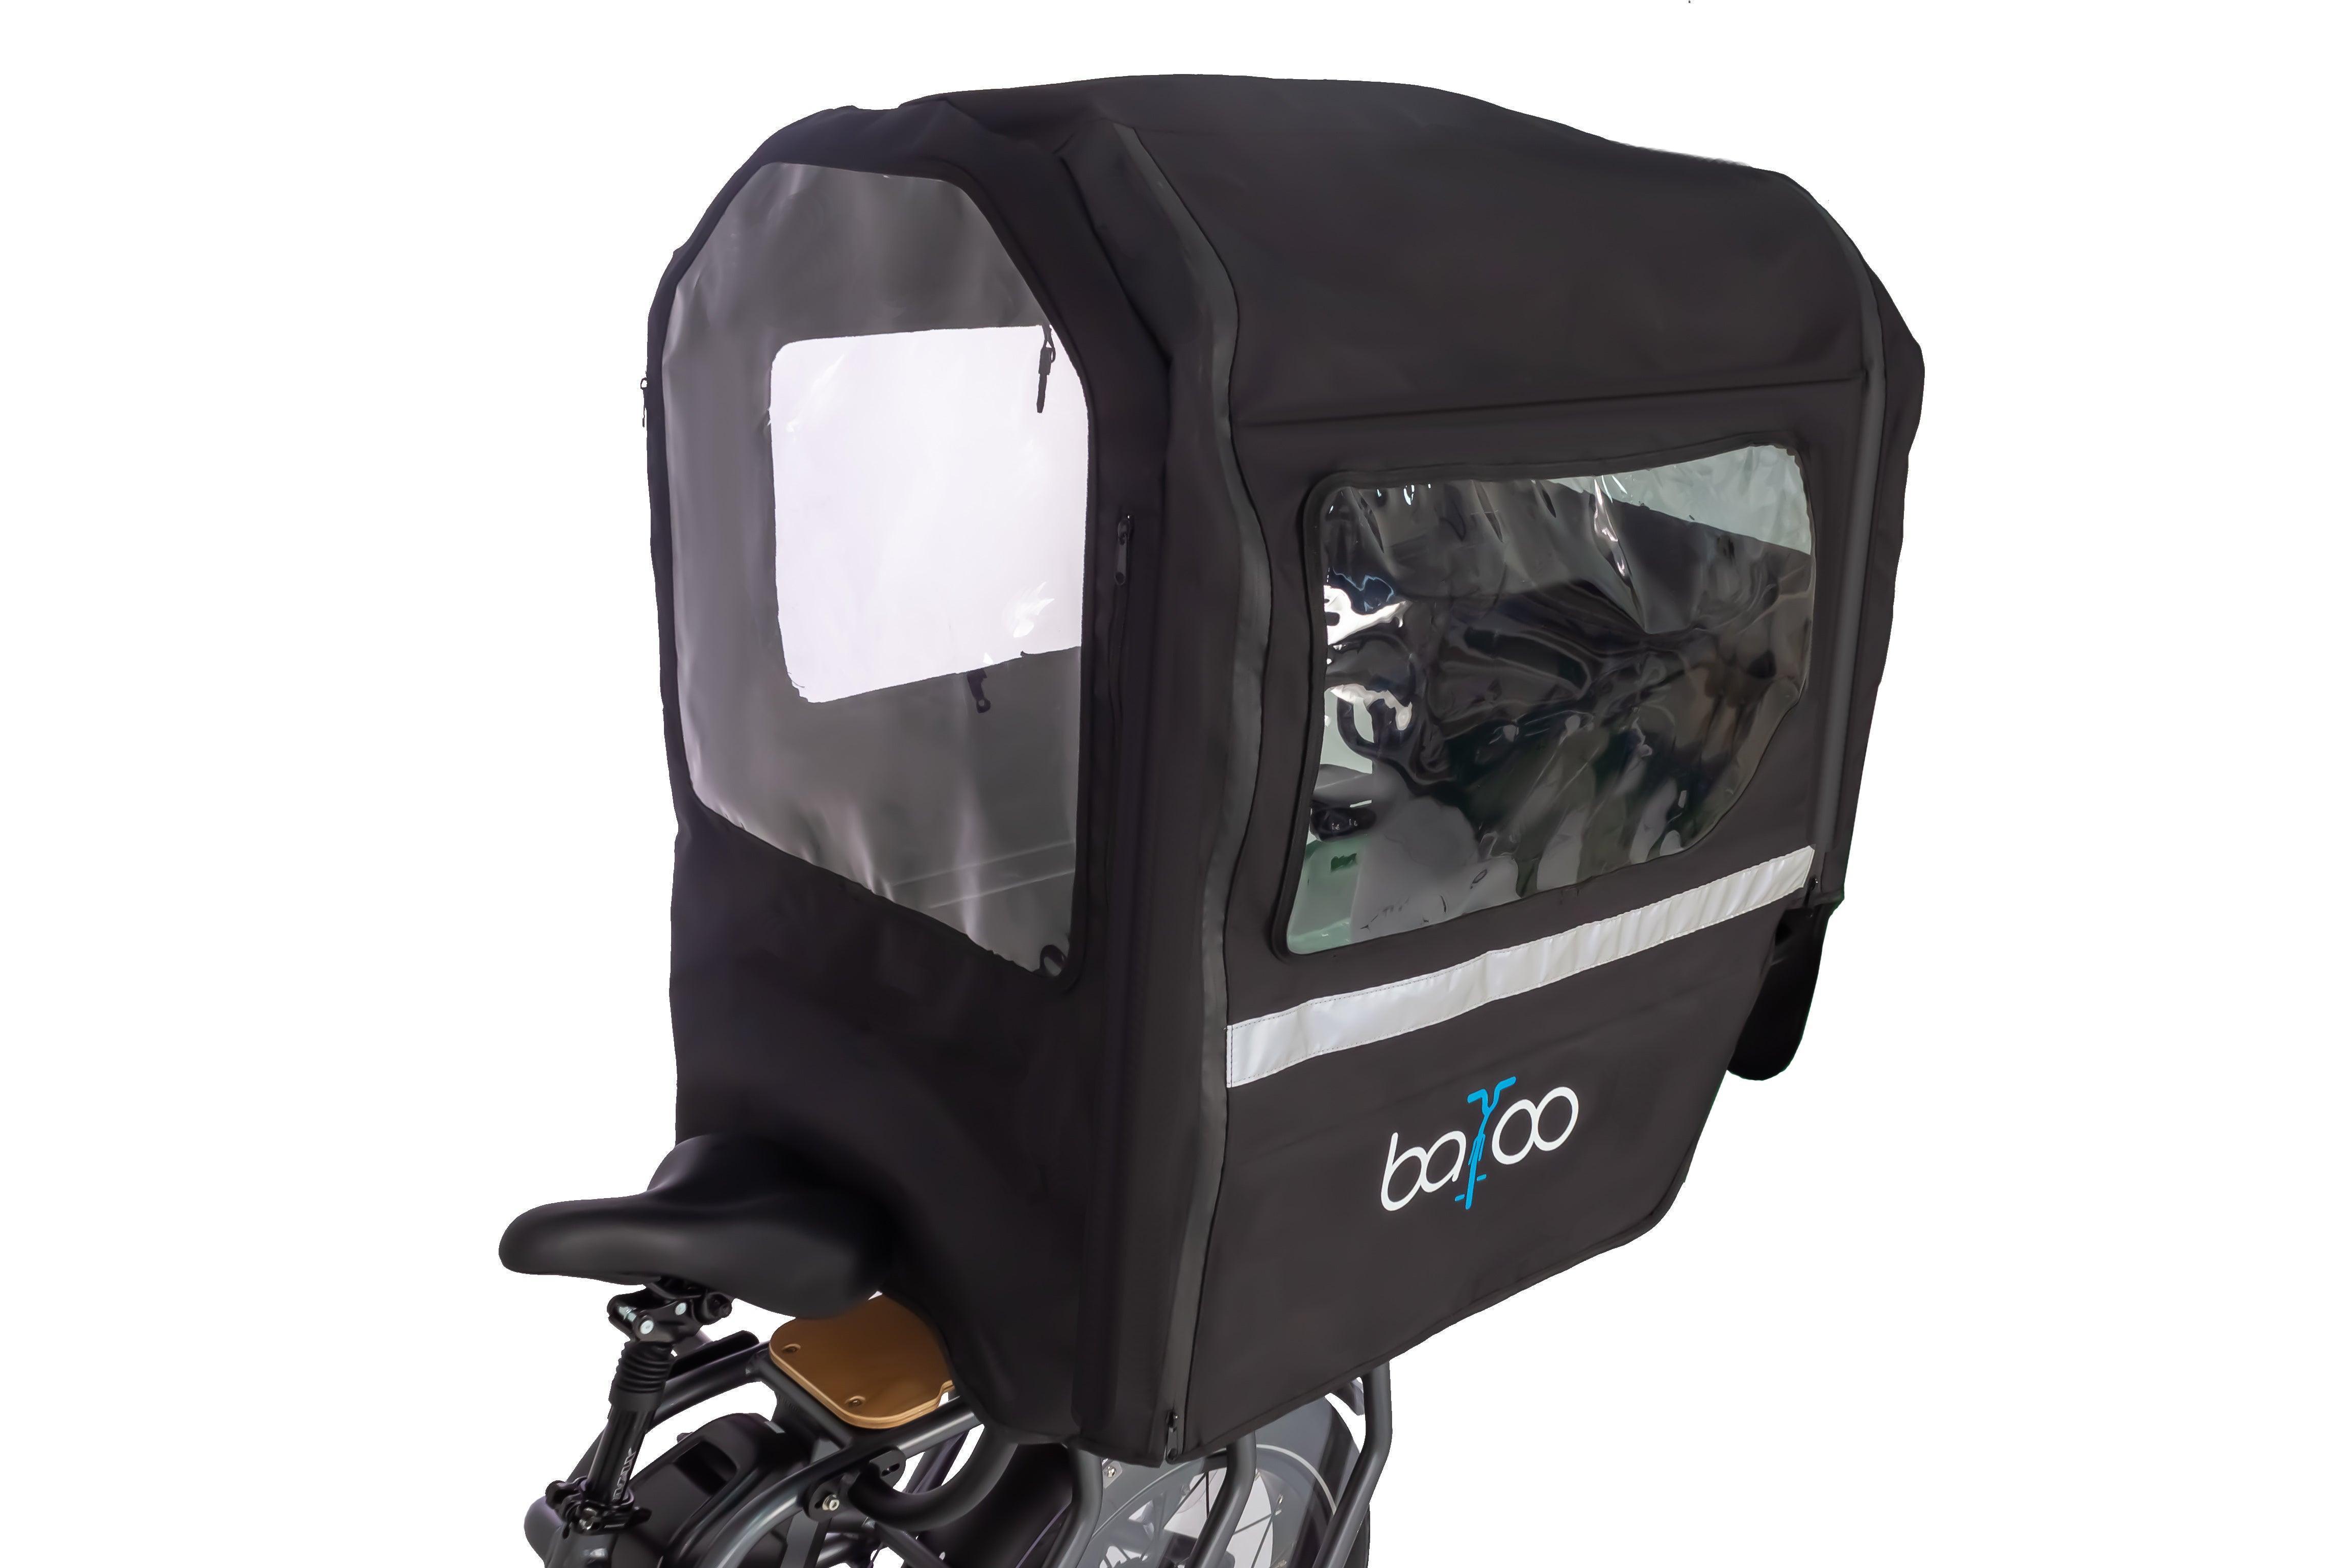
- height under the rain cover;
- distance between two children.
Also consider their growth. A comfortable configuration today should ideally remain usable in two or three years.
Don't forget school bags and groceries
This is one of the most common mistakes during a test ride: testing the children, but forgetting everything else that travels with them.
A family day can also include:
- two school bags;
- a daycare bag;
- rain gear;
- a lock;
- some groceries;
- a sports bag.
Ask where these items will be placed.
They should not:
- occupy a child's seat;
- block a harness;
- obstruct feet;
- be able to fall out during the ride;
- significantly alter the bike's balance.
Minutes 15 to 20: Repeat the same tests with the load
This is when the test truly becomes representative.
Repeat the tests performed empty:
- starting;
- complete stop;
- slow riding;
- left turn;
- right turn;
- U-turn.
Compare your sensations.
Is the bike still easy to start?
With children, the mass increases and weight distribution changes.
Ask yourself:
- do I remain confident when starting off again?
- does the assistance come on progressively?
- can I restart without wobbling?
- can I quickly put a foot on the ground?
Is the bike still controllable at very low speed?
Imagine leaving school with pedestrians and other bikes around you.
The bike must remain easily controllable without needing to maintain high speed to keep balance.
Minutes 20 to 25: Test a real hill climb
If your journeys include elevation changes, a completely flat test is not enough.
Ask to ride up a representative hill in a permitted and safe environment.
The goal is not to find the most difficult slope in the region. Instead, choose a slope comparable to what you will encounter regularly.
Start the climb with momentum
Observe:
- the level of assistance needed;
- pedaling cadence;
- ease of shifting gears;
- motor noise;
- steering stability.
Then test restarting on a slope
When conditions are safe and the salesperson allows it, stop and then start again.
This is a realistic situation: red light, pedestrian crossing, intersection, or unexpected stop.
Ask yourself:
- can I keep the bike stopped?
- can I easily select an appropriate gear?
- does the motor provide enough assistance?
- is the start still progressive?
Also test descending
After an ascent often comes a descent.
Take the opportunity to evaluate the control of the loaded bike.
Check:
- stability;
- hand position;
- ease of modulating the brakes;
- behavior in turns;
- the feeling of control at moderate speed.
With children, the goal is not to test maximum speed. It's about determining if you feel capable of easily controlling the bike when the mass increases.
How to test braking correctly?
Braking must be tested with caution.
In an area closed to traffic and with the agreement of the professional supervising the test, perform several gradual decelerations at low and then moderate speeds.
Test:
- the front brake;
- the rear brake;
- both brakes together;
- a controlled complete stop.
You should be able to easily modulate braking without abruptly locking a wheel.
Do not intentionally perform an emergency stop at high speed with children on board to "see what happens." A test must remain controlled and safe.
Minutes 25 to 30: Test what many buyers forget
The last few minutes should be used to check life around the bike, not just riding.
Walk next to the bike
Get off and push the bike.
Test:
- forward motion;
- a tight turn;
- backward motion;
- a small slope if it is safe.
This operation is essential if you need to bring the bike into a courtyard, garage, or shared storage area.
Put the bike on its kickstand when loaded
Repeat the action with children or a representative load.
The bike must remain stable while you unbuckle passengers.
Mentally test access to your home
Compare the bike's dimensions with those you noted:
- front door;
- bike storage;
- corridor;
- elevator;
- garage;
- parking space.
An excellent bike on the road that is impossible to store easily risks becoming inconvenient in everyday life.
The 10 questions to ask the salesperson before leaving
- What is the exact payload of the bike?
- What does this payload include: rider, children, luggage?
- How many child seats are officially provided?
- Which seats and harnesses are compatible?
- What realistic range can I expect with my load?
- What annual maintenance should be planned?
- Where can I get the bike repaired near my home?
- What warranty covers the bike, battery, and motor?
- What accessories are essential for my use?
- Can I take another test ride if I'm still undecided?
How to compare two cargo bikes after the test ride?
Avoid relying solely on your general impression.
Note each model immediately after the test ride.
| Criterion | Model A / 5 | Model B / 5 |
|---|---|---|
| Rider comfort | ||
| Child installation | ||
| Child space | ||
| Luggage space | ||
| Stability when stopped | ||
| Loaded start | ||
| Uphill climb | ||
| Braking | ||
| Turns and U-turns | ||
| Parking | ||
| Range adapted to my journey | ||
| After-sales service |
You can also assign more importance to criteria that are essential for your family.
For example, a family living on the third floor with a narrow bike storage area might prioritize the size, while a family living in a hilly city would give more weight to uphill starts and braking.
What warning signs should make you hesitate after the test ride?
Even if you like the specifications, think twice if:
- you are not comfortable at low speeds;
- the bike seems difficult to keep loaded;
- the children already lack space;
- school bags have no logical storage place;
- uphill starts are complicated;
- braking requires too much effort;
- you cannot easily make a U-turn;
- it is difficult to put it on its kickstand;
- the bike does not easily fit into your home;
- the salesperson cannot confirm the compatibility of an important accessory.
A slight doubt about the color is secondary. A doubt about stability, loading, or storage warrants a second test ride.
Should you test the bike at night or in the rain?
It is obviously not necessary to wait for bad weather to do your first test ride.
But if you plan to ride all year round, check:
- the available rain protection;
- ventilation for children;
- front and rear lighting;
- side visibility;
- mudguards;
- tire grip;
- space for winter clothing.
Also ask how braking and range change when temperatures drop.
Can a cargo bike be tested for several days?
A 30-minute test ride can already eliminate many unpleasant surprises.
However, for an important decision or a complete change in family mobility, longer use may be beneficial.
It allows you to test:
- the real school-daycare routine;
- overnight parking;
- charging;
- range over several journeys;
- shopping;
- children's reactions;
- organization with the weather.
Ask the dealer about extended test ride or rental solutions available at the time of your search.
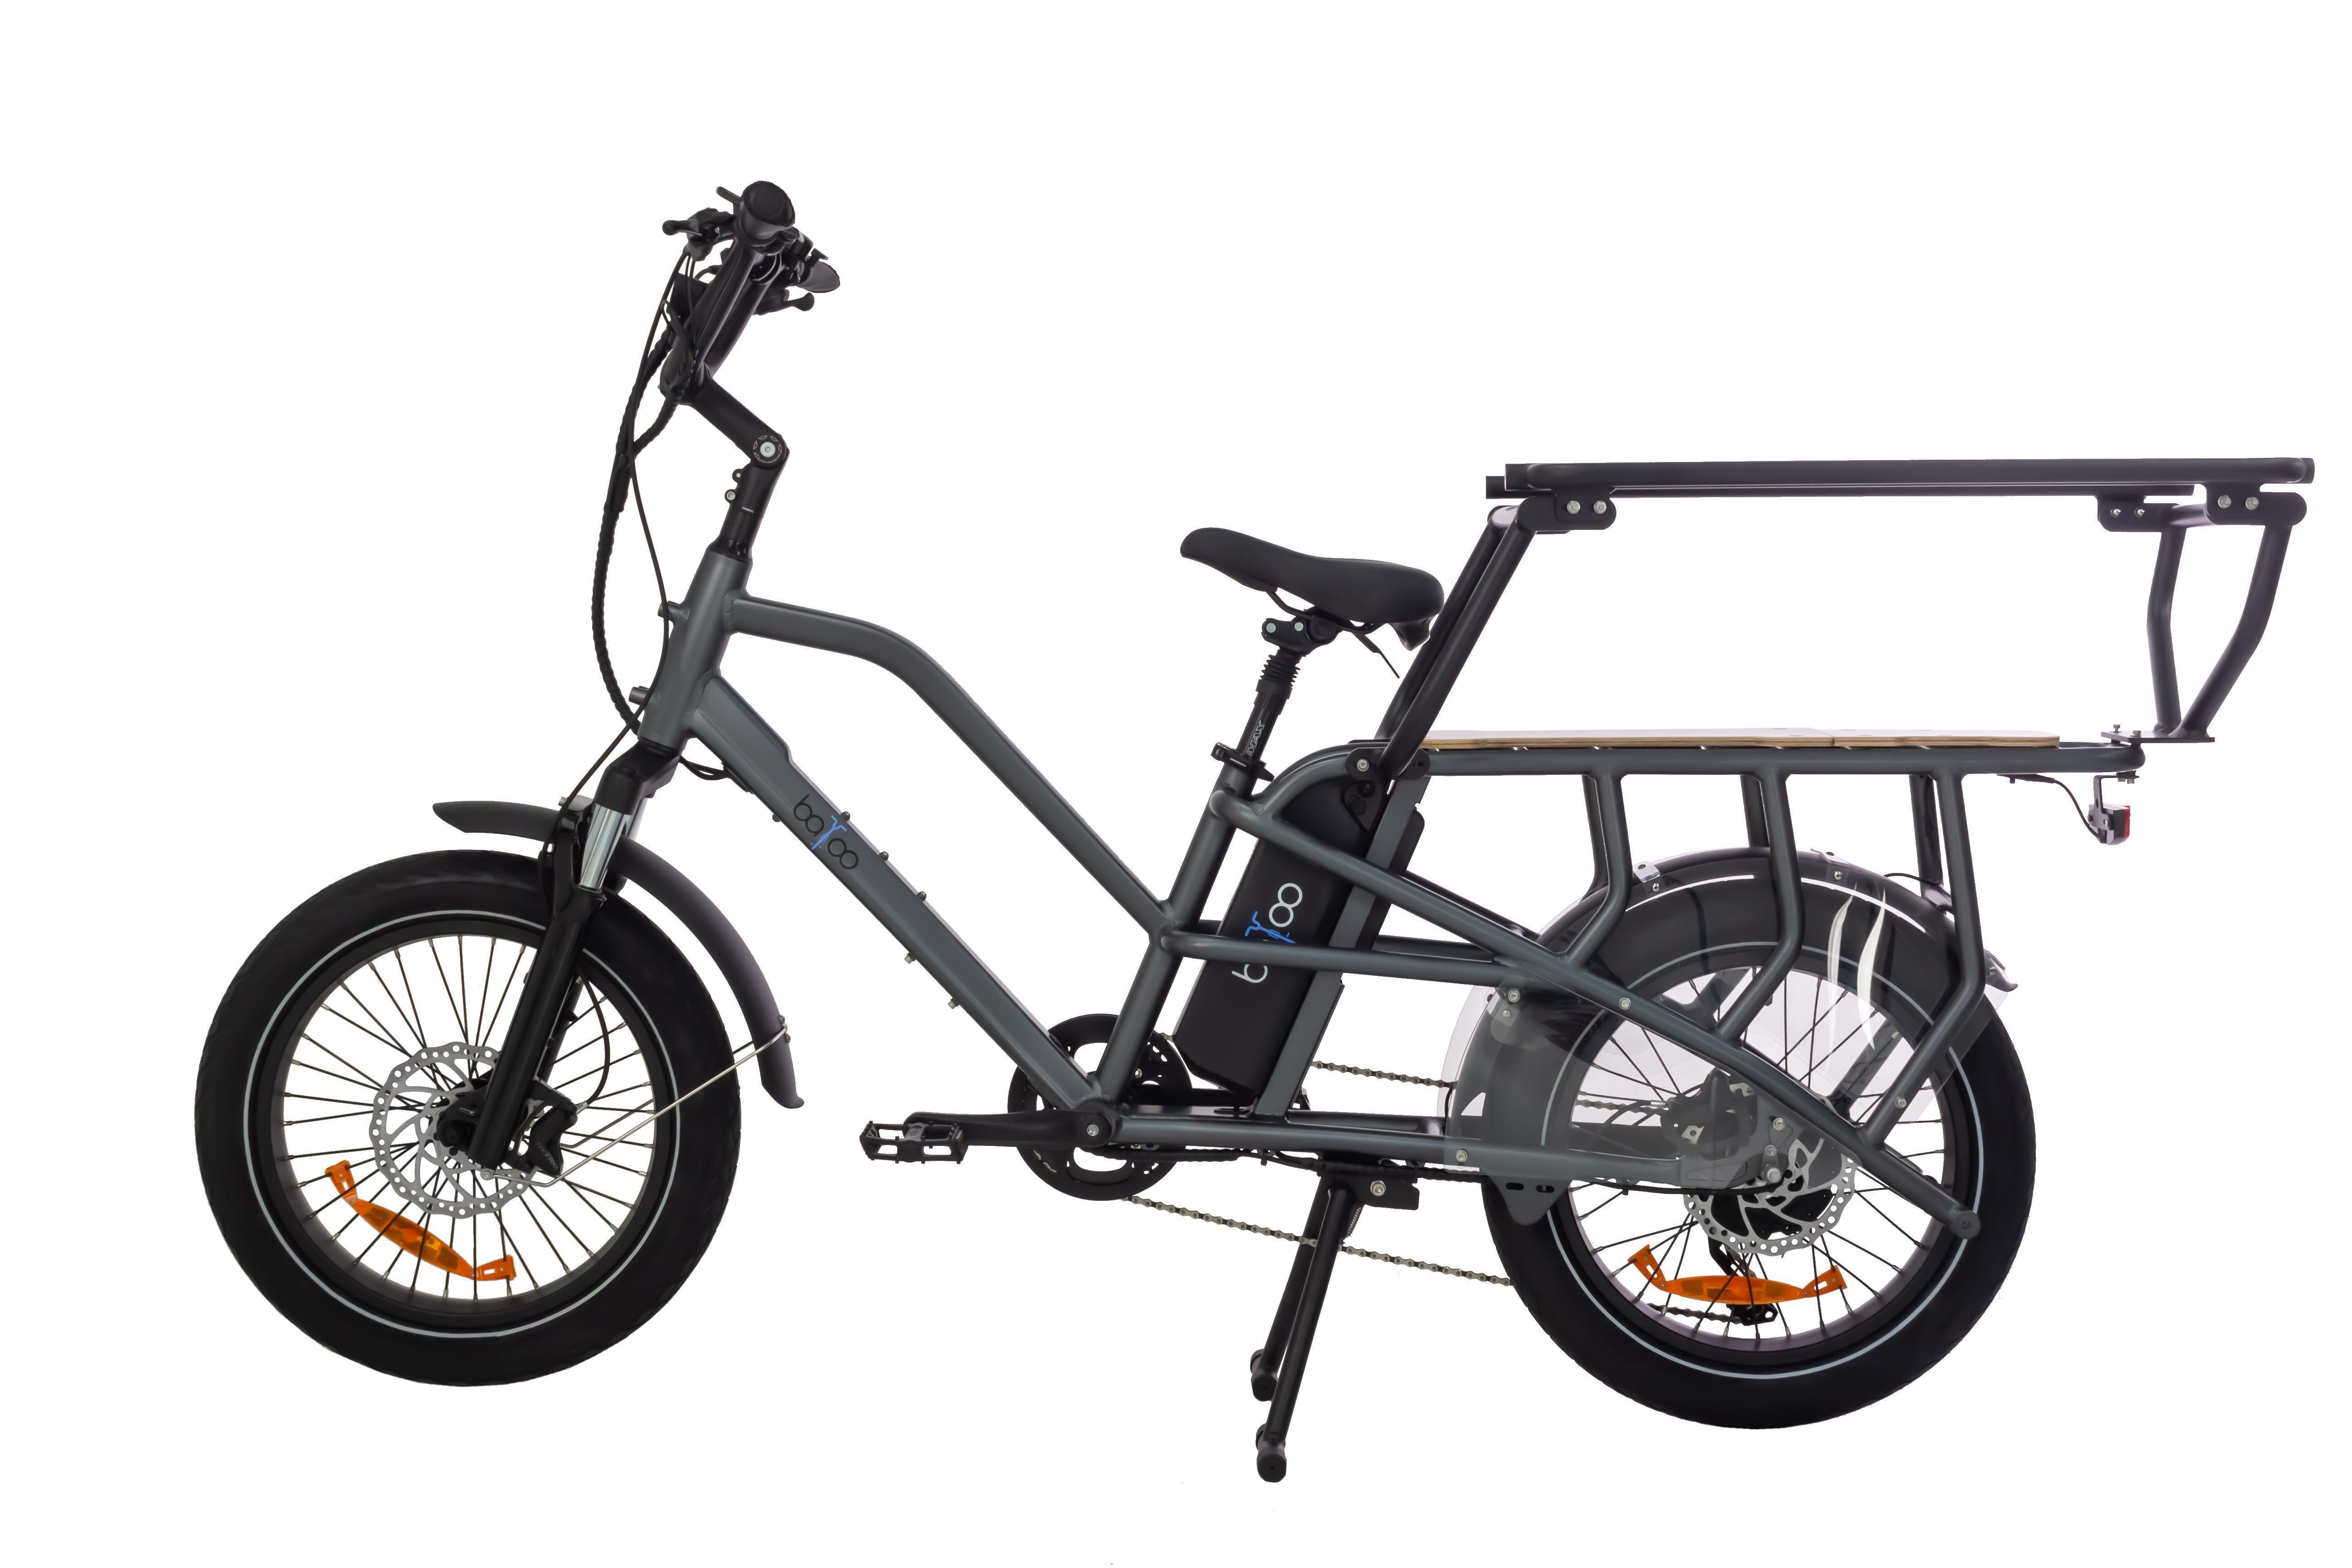
What to test on the Colibri V2.0?
If you are trying the Colibri V2.0, don't just check its motor.
Pay particular attention to:
- the low frame during frequent stops;
- starting with children;
- motor behavior under load;
- brakes during loaded deceleration;
- maneuverability with its 20-inch wheels;
- space for your family configuration;
- ease of storage;
- range according to your journey.
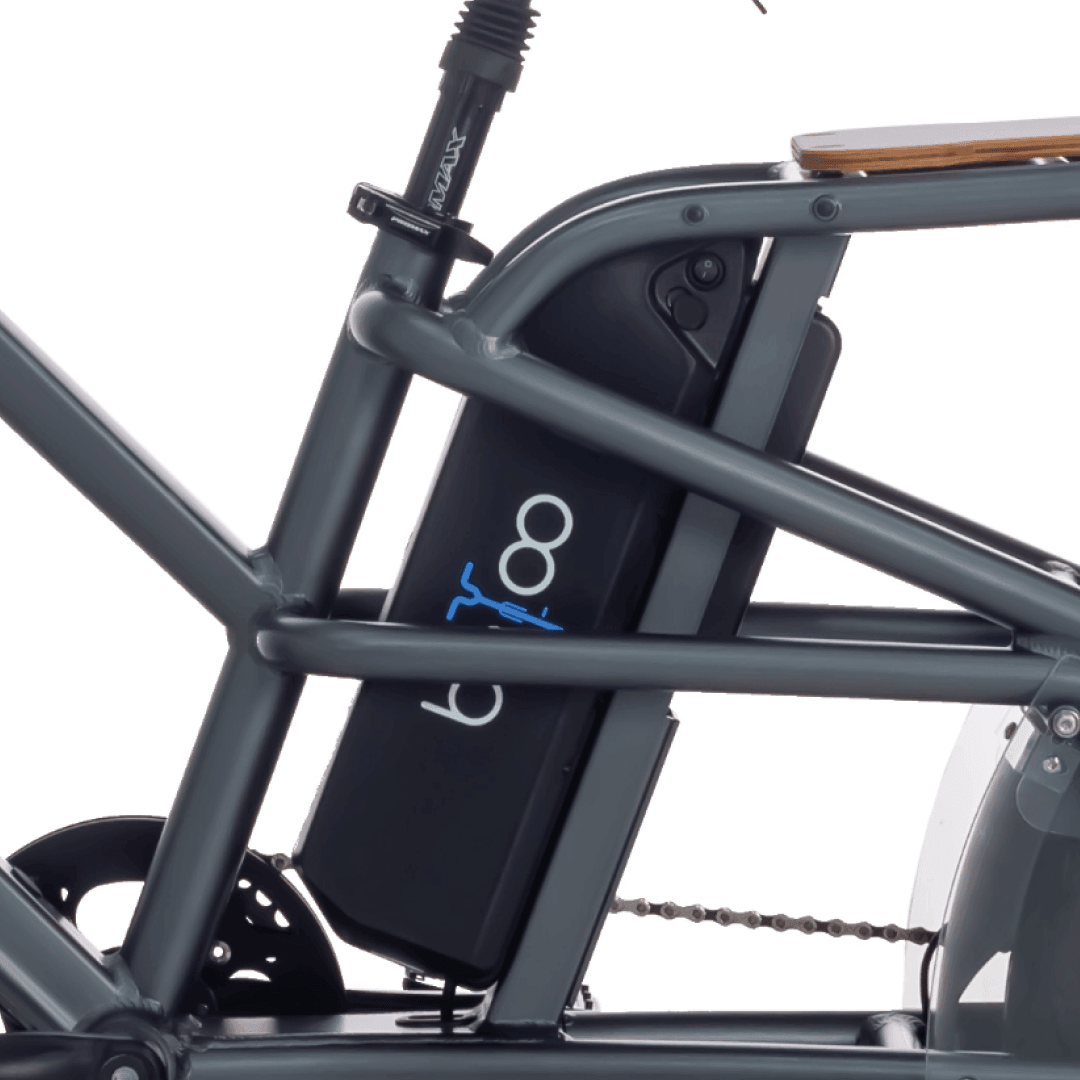
The current specification sheet for the Colibri V2.0 notably features a 500W and 85Nm Bafang motor, a 720Wh battery with the option for a dual battery, four-piston hydraulic brakes, and a stated payload of up to 160 kg.
These figures help prepare the right questions, but they do not replace a test ride.
Complete checklist before ending the test ride
- ☐ The saddle and handlebars have been adjusted for me.
- ☐ I can easily get on and off the bike.
- ☐ I know how to use the kickstand.
- ☐ I rode it empty before installing the children.
- ☐ I tested a full start.
- ☐ I rode at very low speed.
- ☐ I made several sharp turns.
- ☐ I tested a U-turn.
- ☐ The children have enough space.
- ☐ The harnesses are easy to adjust.
- ☐ The children's feet remain protected.
- ☐ School bags have a dedicated space.
- ☐ I rode with a representative load.
- ☐ I tested an uphill climb if my route includes elevation changes.
- ☐ I tested a hill start when possible.
- ☐ I evaluated braking in a safe environment.
- ☐ I pushed the bike on foot.
- ☐ I tried to move it backward.
- ☐ I checked its dimensions against my storage space.
- ☐ I know the exact payload capacity.
- ☐ I know the compatible accessories.
- ☐ I have a realistic estimate of the range.
- ☐ I know where to have the bike serviced.
Conclusion
A good cargo bike test ride is not just about determining if the bike is pleasant to ride.
It must answer a much more important question: will this bike actually work for my family, my load, my journeys, and my home?
In 30 minutes, it is possible to test the riding position, starting, children, luggage, uphill performance, braking, turns, kickstand, and parking.
Come with your actual setup whenever possible and don't settle for an empty test ride on flat ground.
A well-chosen cargo bike should be pleasant during the test ride, but above all, easy to use every morning for several years.
Book a free Batoo cargo bike test ride
Frequently asked questions about cargo bike test rides
How long should a cargo bike test ride last?
Approximately 30 minutes is enough to test the main criteria: adjustments, riding empty, installing children, riding loaded, uphill, braking, and parking. For complex use, a second test or a longer trial may be useful.
Should children come along to test a cargo bike?
Yes, when possible and authorized by the professional supervising the test ride. Children help verify space, harnesses, stability, loaded behavior, and available space for school bags.
What type of uphill climb should be tested?
Choose a slope comparable to your daily route rather than the steepest available climb. If possible, test a continuous climb and then a hill start in a safe area.
How to assess the stability of a cargo bike when stopped?
Place the bike on its kickstand, simulate installing children and loading it, then check if you can easily hold the bike steady. Never leave children unattended in a cargo bike on its kickstand.
Can a cargo bike be tested for several days?
It depends on the services offered by the dealer. An extended test ride or rental can be beneficial for testing school-daycare commutes, range, charging, and parking in real-life daily conditions.