A puncture on the way to work can be enough to disrupt your whole morning. Puncture-resistant tyres address that concern by helping to reduce everyday interruptions. They improve resistance to certain punctures, but never guarantee trouble-free riding. Here is how to assess their value before buying an electric bike or replacing its tyres.
How does a puncture-resistant tyre work?
A tyre consists of several parts: a casing that provides its structure, beads that hold it on the rim, and a rubber tread. An additional protective layer may sit beneath that tread. Its construction varies by model and may use reinforced rubber or layers of fabric.
This barrier resists small, sharp objects encountered on the road. Some tyres also have reinforced sidewalls. It is therefore worth checking the exact construction: the term “puncture-resistant” alone does not mean that every tyre offers the same level of protection. Explore the different types of protection.
What are the limits of this protection?
A sufficiently sharp object, a cut or damage outside the protected area can still cause a problem. A protective layer beneath the tread is also no substitute for an inner tube in good condition, correct fitting and suitable rim tape. Rim tape protects the tube from openings and sharp edges in the rim.
When buying, look for a reduction in risk that suits your use rather than a promise of “zero punctures”. No universal percentage or guaranteed number of trouble-free kilometres provides a meaningful comparison for every journey.
The right tyre pressure is still essential
A reinforced tyre must always be correctly inflated. The right pressure depends partly on the load it carries and the tyre’s cross-section. There is therefore no single pressure in bars that works for every electric bike.
Follow the instructions for the tyre and rim, as well as the bike manufacturer’s guidance. Use a pressure gauge: pressing the tyre with your thumb does not give a reliable measurement. For conventional setups with inner tubes, checking at least monthly is a useful starting point, adjusted to the equipment instructions and how you ride. Persistently low pressure can increase the risk of punctures and premature sidewall wear. Read the tyre pressure recommendations.
The aim is not to inflate to the maximum every time for reassurance. Ask for a pressure suited to your usual load, then check it again when carrying more luggage.
Compatibility: what to check before changing tyres
Start by noting the full specification marked on the existing tyre. The ETRTO marking gives its width and internal diameter in millimetres; it is more precise than a simple size in inches.
- Dimensions and rim: the diameter must match, and the tyre width must be compatible with the rim width.
- Available space: check the clearance within the frame and fork, and around the mudguards.
- Setup type: inner-tube and tubeless systems need suitable components; do not assume they are interchangeable.
- Use and load: have the exact tyre specification checked for your bike, its assistance and the loads you plan to carry, particularly on a cargo bike.
Specifications can vary with the size and version chosen within the same range. The model name alone is not enough to confirm a suitable replacement. Ask the retailer or a workshop to check the complete combination before ordering. Check tyre and rim compatibility.
Which criteria matter for everyday journeys?
Start with your actual route: regular urban journeys, damaged road surfaces, stretches of path or trips carrying luggage. Consider the consequences of being stranded, too. Having a repair done close to home and finding a solution several kilometres from the office present different challenges.
Then compare several factors together: the stated protection, comfort, behaviour on your usual surface, ease of repair and availability of compatible parts. Resistance to punctures alone does not tell you how well a tyre grips in wet conditions. During a test ride, also notice whether the bike feels comfortable over the uneven sections of your route.
Look for the tyre specification in the bike’s product details and ask about anything missing. A reinforced version within a range may have different characteristics from the standard version. Do not automatically assume that the benefits of one apply to the other.
A simple routine for keeping tyres reliable
Make a habit of examining the tread and sidewalls, particularly after riding through an area scattered with debris. Watch for damage and wear: when the casing or protective layer becomes visible through the rubber, the tyre must be replaced. Its service life depends on how it is used; an advertised mileage does not remove the need for these checks.
Plan for a problem, too: carry suitable equipment if you know how to repair a puncture, or keep a workshop’s contact details and a way of getting home in mind. This preparation makes cycling less stressful, even with reinforced tyres.
Frequently asked questions
Is a puncture-resistant tyre a solid tyre?
Not necessarily. A tyre with reinforced protection can be inflatable and work with an inner tube. Check the type specified for your chosen version.
Do you need to switch to tubeless for commuting?
It is not essential. A conventional setup can suit everyday journeys. Tubeless requires compatible components, suitable installation and monitoring of the sealant. Choose according to how you ride and the maintenance you are willing to carry out.
How should you assess tyres before buying an electric bike?
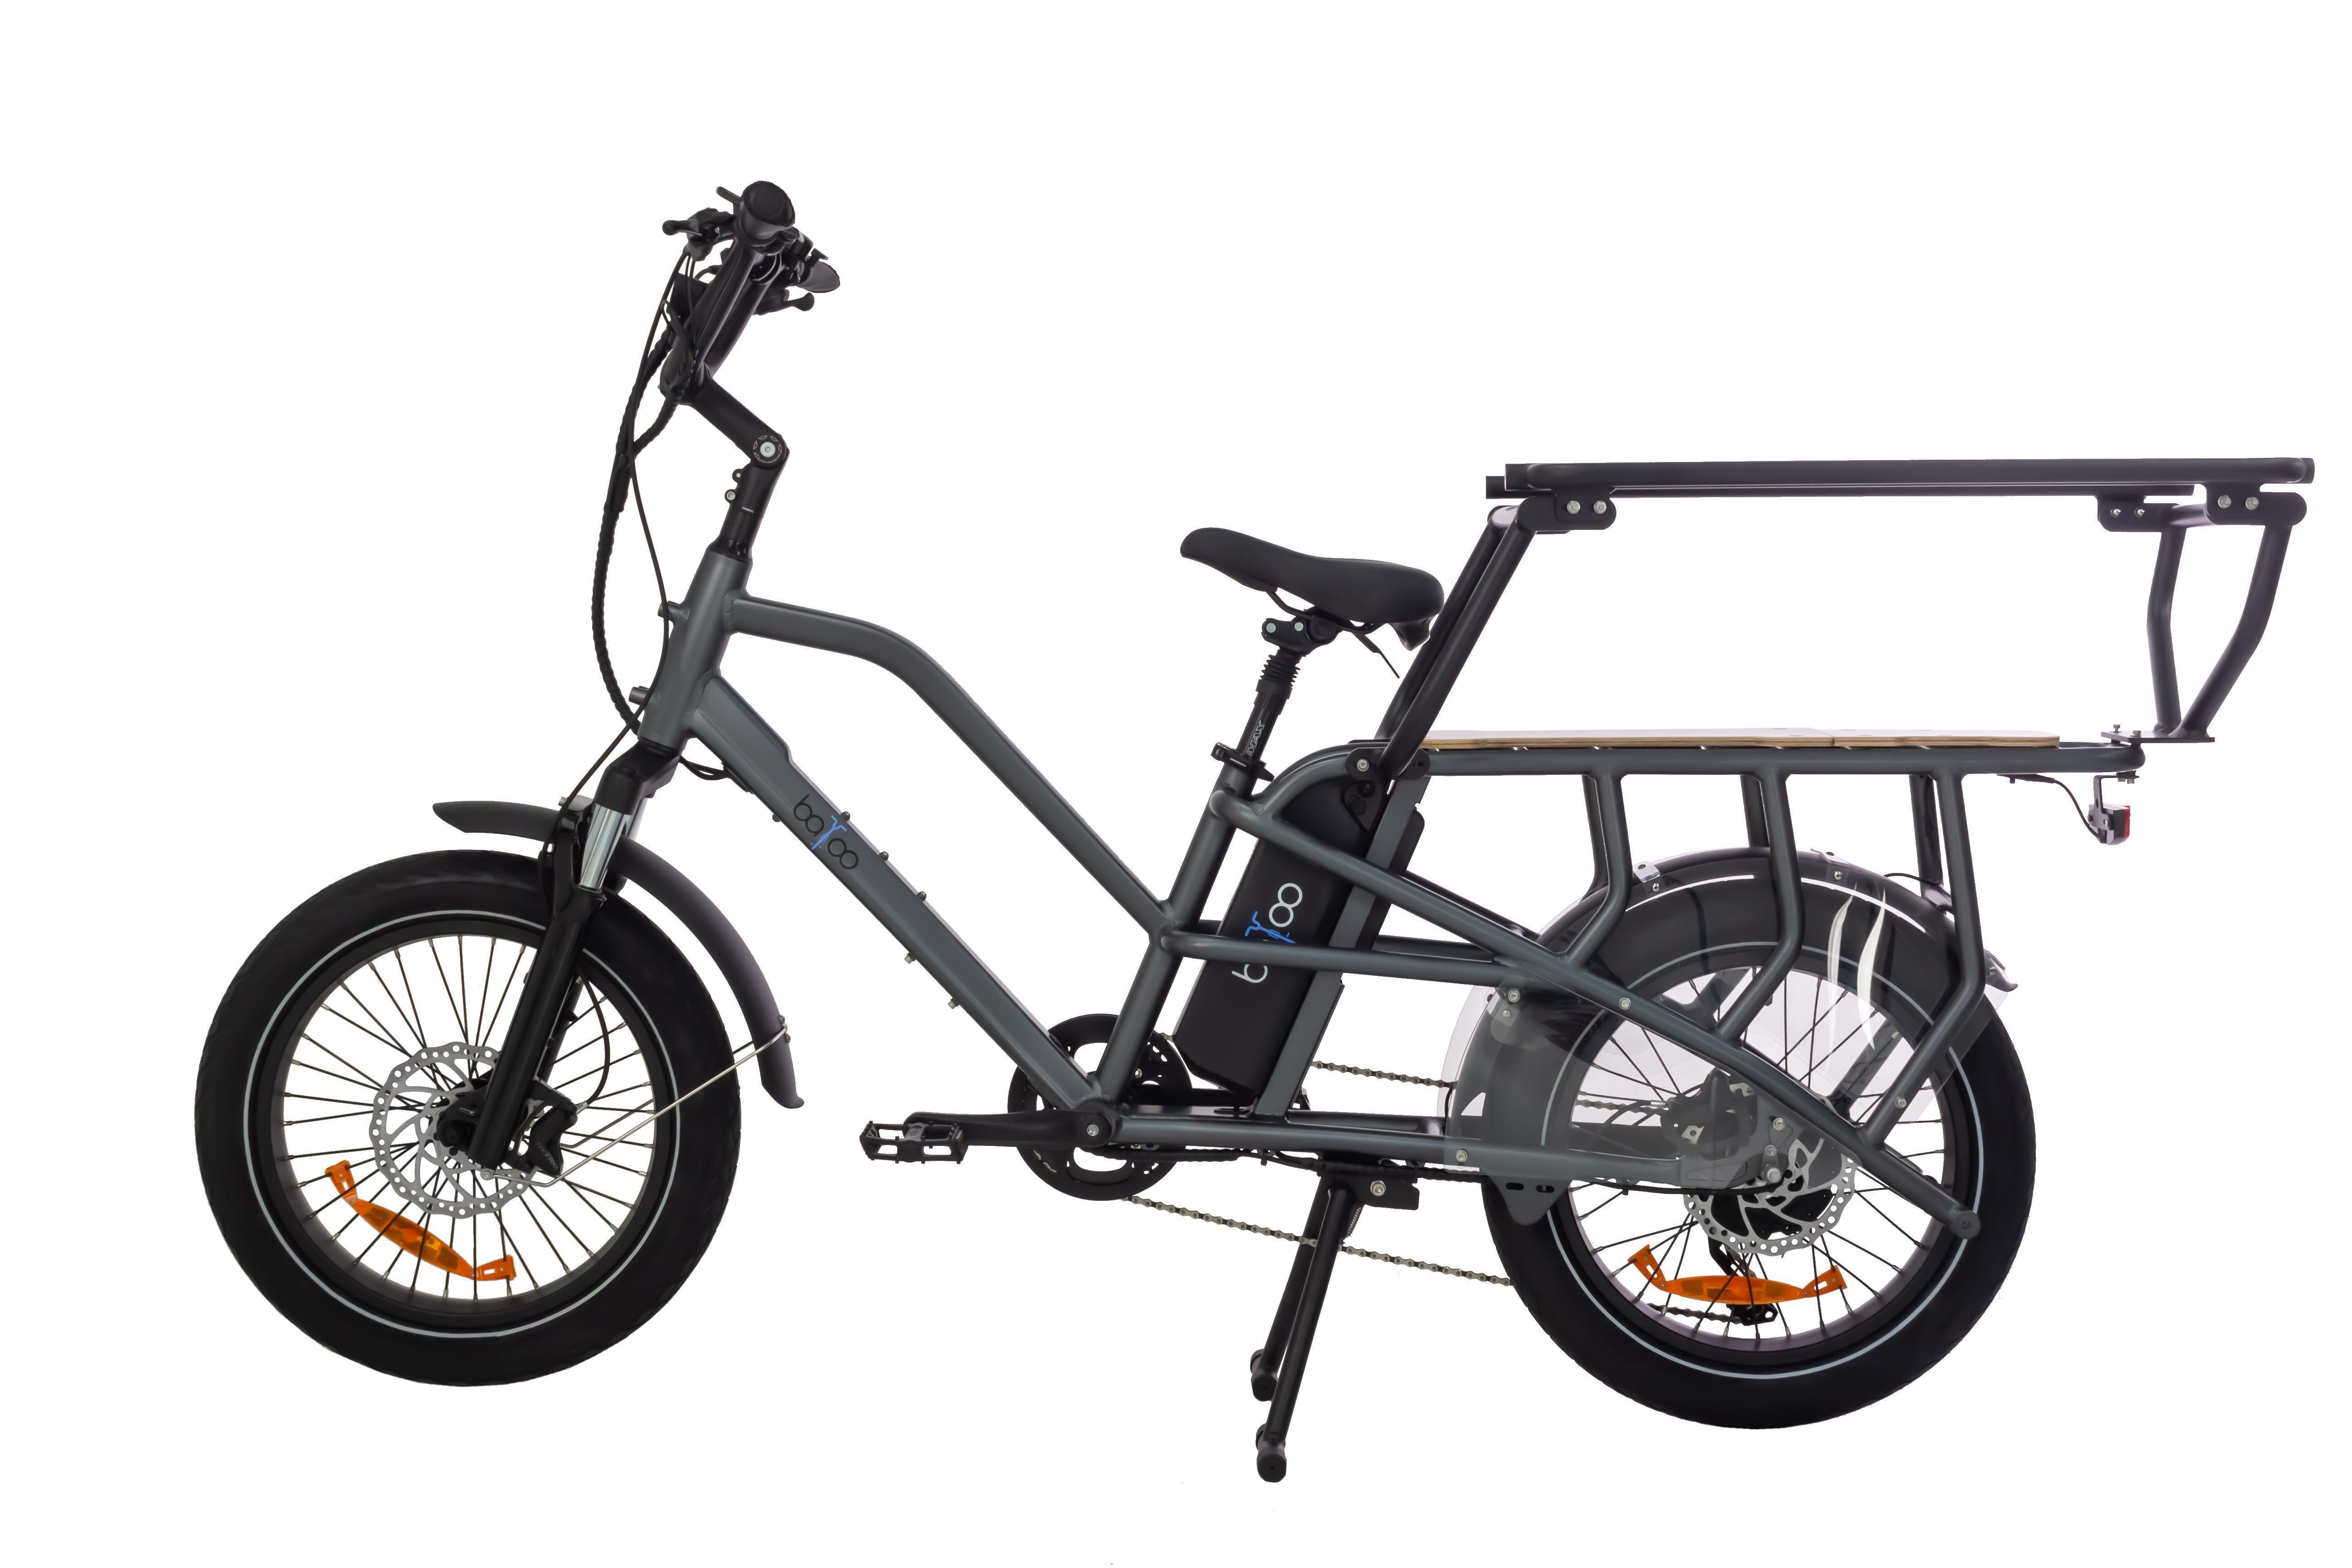
They are a useful factor to consider alongside riding position, brakes, assistance and carrying options. To start your comparison, explore this electric bike for everyday journeys, whose product details list puncture-resistant tyres. Confirm the exact tyres fitted and try the bike on a representative route before making your choice.